News
Oct.05, 2026
A Gate Valve is generally the right choice when a pipeline needs reliable on-off isolation and the valve can remain fully open or fully closed during normal operation. Its straight-through flow path can create little flow resistance when fully open, but its design makes it unsuitable for routine throttling. Use this guide to match the valve to the service, compare alternatives, and avoid selection and installation problems. KAIWEI VALVE helps buyers evaluate valve requirements against the actual operating conditions.
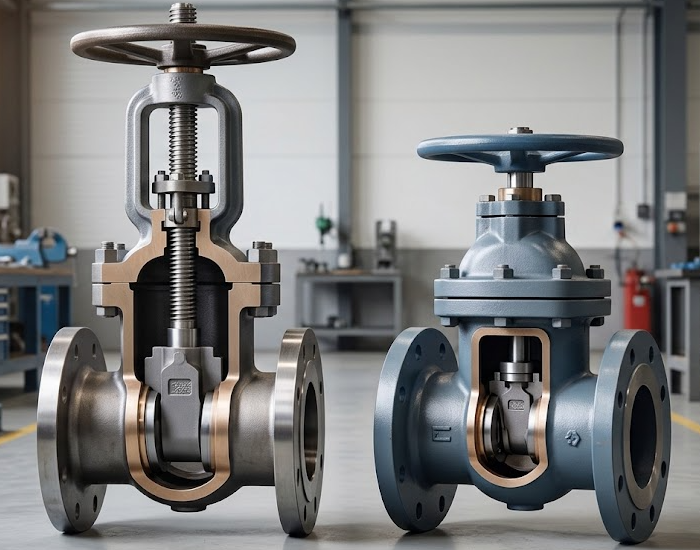
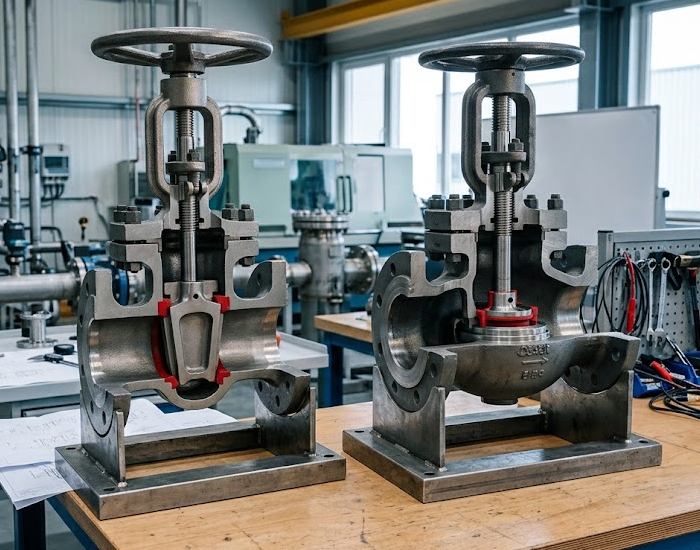
A gate valve moves a wedge or parallel gate into or out of the flow path. In the fully open position, the gate is lifted clear of the passage, allowing a relatively unobstructed flow path. This makes the design useful for isolating a line, equipment, or branch where operators do not need to adjust flow continuously.
A partially open gate can vibrate, erode, or suffer damage from turbulence and fluid impingement. Throttling can also make flow control difficult because a small change in gate position may produce an unpredictable change in flow. If the process requires frequent adjustment, select a control valve or another valve type designed for regulating flow.
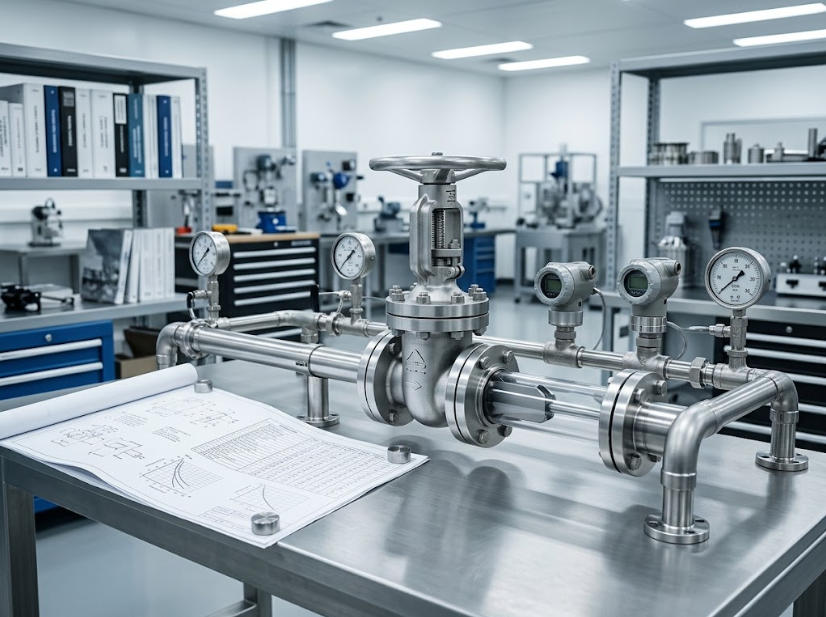
Purchasing teams often need to balance the process requirements with maintenance access, delivery expectations, and lifecycle cost. Start with the actual service data rather than choosing by nominal pipe size alone.
Gate valves are often considered for water distribution, utility lines, fire protection systems, and industrial process piping where an isolation point is needed. Suitability depends on the specific valve design and applicable codes. For dirty, abrasive, corrosive, high-temperature, or critical services, verify the design and materials with the supplier and project engineer instead of assuming that a standard valve is appropriate.
State whether the valve is for isolation, equipment shutdown, or another duty. If operators will use it to maintain a target flow rate, stop and evaluate a valve designed for throttling or control.
Record the fluid, normal and maximum pressure, operating and design temperatures, flow conditions, cycle frequency, and any solids or special hazards. Include credible startup, shutdown, and surge conditions in the review.
Match the nominal size and pressure class to the piping documents, but also verify the required end connection, face-to-face dimensions, bore, and installation space. Do not assume that two valves with the same nominal size will have identical dimensions.
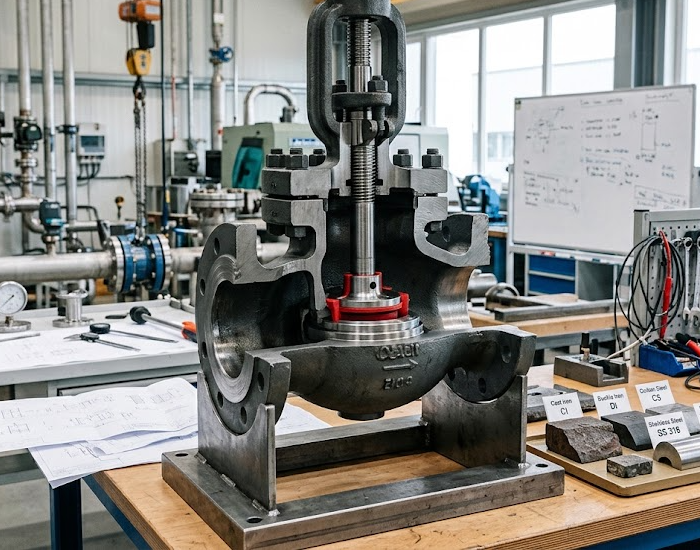
Check material compatibility with the fluid and environment. Specify the body, gate, stem, seat, and packing as needed for the service. Ask for documented temperature and pressure limits for the exact configuration rather than relying on a material name alone.
Select a handwheel, gearbox, or actuator based on valve size, operating torque, access, required operating speed, and control system needs. Confirm that the actuator is suitable for the valve and service, and specify any position indication or fail-action requirements.
List the required design and testing standards, inspection level, traceability, certificates, and documentation in the purchase specification. Request drawings and confirm dimensions, materials, ratings, and delivery scope before approval.
If the piping specification calls for a bolted-bonnet steel gate valve, confirm what API 600 means for gate valve selection before finalizing the purchase requirements.
Have the end user, engineering team, and purchasing group check the same final datasheet. Resolve gaps such as unspecified temperature limits, unclear material grades, missing connection details, or incompatible actuator requirements before placing the order.
The exact tools depend on the valve and piping joint. Use the approved project procedure and manufacturer instructions. Typical requirements may include:
Check the valve identification, pressure rating, material, end connections, and flow-direction markings against the approved documents. Examine the body, stem, handwheel or actuator, and sealing surfaces for shipping damage. Keep the valve protected until it is ready to install.
Isolate, depressurize, drain, and make the line safe in accordance with site procedures. Apply lockout and tagout where required. Never remove a valve from a live or pressurized line.
Remove debris, weld slag, scale, and foreign material that could damage the gate or seats. Confirm that the pipe ends and mating flanges are clean, undamaged, and correctly aligned.
Use suitable lifting equipment and the designated lifting points. Do not lift the valve by its handwheel, stem, or actuator unless the manufacturer specifically approves that method. Position it according to the installation instructions and make sure the piping does not impose excessive load on the body.
Install the specified gasket and fasteners for a flanged joint, or follow the approved joining procedure for welded or threaded ends. Tighten fasteners in the specified sequence and to the specified torque where applicable. Do not use the valve to pull misaligned pipes together.
Operate the valve through its intended travel as directed by the manufacturer. Confirm that it moves smoothly and that the actuator, handwheel, and position indicators function correctly. Do not apply excessive force to overcome a jam or obstruction.
Complete the specified leak, pressure, and functional tests using approved procedures. Check the body, joints, packing area, and closure for leakage. Repressurize gradually where the system procedure requires it, then record test results and update maintenance documents.
Leaving the gate partly open for ongoing flow adjustment can cause vibration, wear, and unreliable control. Select a valve designed for the required regulating duty.
Nominal size alone does not confirm pressure class, temperature suitability, bore, end dimensions, or material compatibility. Verify every item against the piping specification and service data.
A material that works in one fluid may corrode or fail in another. Check the complete wetted-material combination and consider external corrosion, temperature, and contamination risks.
Pipe strain can distort the body, affect sealing, and make operation difficult. Correct the piping alignment and support before tightening the connection.
A handwheel may be inaccessible or difficult to operate in a cramped installation. Confirm clearance and operating requirements, and assess whether a gearbox or actuator is needed.
Failure to confirm identification, inspect for damage, test the installed valve, and retain required records can create safety and maintenance problems. Follow project and manufacturer procedures and document acceptance.
A gate valve is commonly selected for on-off isolation with a relatively unobstructed passage when open. A globe valve is generally more suitable when the process needs frequent flow regulation, although the final choice depends on the application and design ratings.
A ball valve can provide quick quarter-turn operation and tight shutoff in many services. A gate valve uses a rising or non-rising stem design and typically takes more turns to operate. Compare required operating speed, size, service conditions, maintenance needs, and applicable specifications.
A butterfly valve can be compact and lightweight, particularly in larger pipe sizes, and some designs can regulate flow within specified limits. A gate valve may be preferred where its particular bore, isolation, or project requirements matter. Verify pressure drop, materials, shutoff expectations, and space before deciding.
No valve type is best for every pipeline. Compare operating function, pressure and temperature limits, fluid compatibility, maintenance access, installation cost, and lifecycle requirements. Share the completed service data with the supplier so the recommended design can be checked against the actual application.
Choose a Gate Valve when the primary requirement is dependable on-off isolation and the valve will operate in the position its design is intended for. Confirm the service data, materials, dimensions, ratings, and installation procedure before purchase. KAIWEI VALVE can help your team review these requirements so the specified Gate Valve fits the application.
More News